Tilers Place is reader-supported. When you buy through links on this page, I may earn an affiliate commission on qualifying purchases.
Tiles are sleek, attractive, and can transform the kitchen or bathroom into a beautiful, peaceful oasis. However, if your tiles are looking worse for wear or they need immediate updating, opt for painting instead or replacing!
While replacing tile is feasible, it’s expensive and difficult to install. Couple those with demolishing and disposing of your old tiles, and the money and time needed to complete the entire project is daunting. A much easier and cost-effective solution is to invest in a few materials/tools and paint them.
However, before you get the old paint brush out to go to town, there are some steps required to achieve the best results. With proper preparation and the right tools, it’s possible to paint your tiles and achieve a professional finish!
Step One – Cleaning
The first thing a professional painter will do is clean the tiles. This means using a tile-specific cleaner that won’t damage or yet leave an unwanted residue behind.
If you can’t find one, do the following:
- Fill your bucket with warm water
- Add Trisodium phosphate (TSP) to the water
- Wear protective gloves and proceed to wipe your ties
- Work from the top and go downwards, removing as much dirt as possible
- To finish, rinse your tile with water and let it air dry

Step Two – Repair Damaged Tiles
Unfortunately, painting over a damaged tile won’t magically fix them. Infact, the new paint is more likely to accentuate the tile’s blemishes. Therefore, you must repair them first, whether they have chips or cracks on the surface.
Follow the steps below:
- Wear gloves and apply caulk to your tile’s chip or crack
- Wipe the caulk with your finger – make sure to get rid of any excess with a putty knife
- Use exterior-grade waterproof spackle for larger imperfections like bigger holes
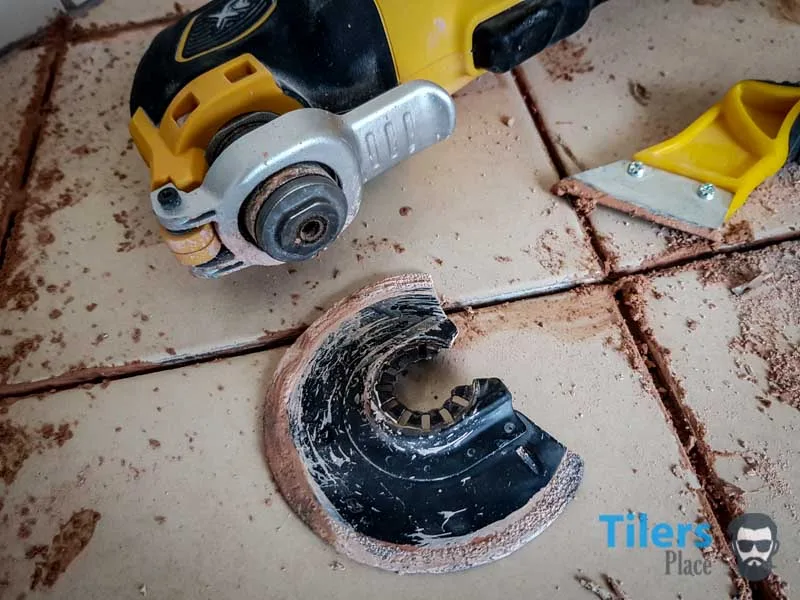
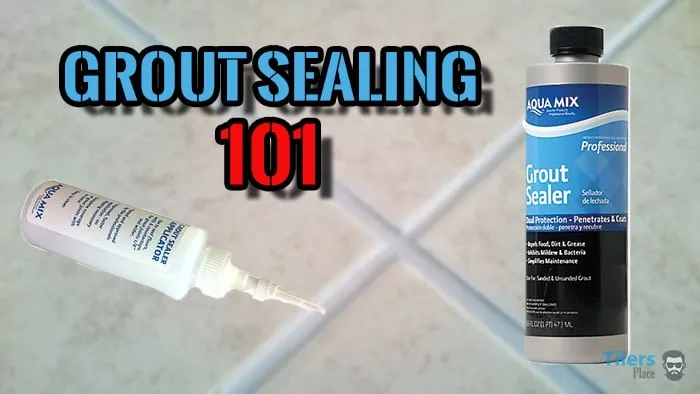
Step Three – Repair your Tile’s Grout
Grout is the mortar that binds your tile together. If it’s loose, missing or cracked you should repair it before you start painting. To do this:
- Use tile grout for small spots that require repairing
- Apply the grout with your finger (wearing gloves) and wipe any excess
- For larger defects, you’ll need to completely remove the grout and replace it with new grout
Step Four – Sand Your Tile
Sanding involves using sandpaper to smooth the surface of your tile. If it’s not done properly, you won’t get an even finish and the paint won’t properly adhere to the surface. Use an hand-held orbital sander with #100-#150 grit sandpaper to complete this step.
Step Five – Use Tack Cloth to Clean Your Tile
After sanding, clean your tile with warm water. Once dried, use a tack cloth to properly prepare your tiles for painting. Ensure to keep the pressure light as hard pressure will leave beeswax on its surface.
Step Six – Cover Areas that Don’t Require Painting
Cover any areas that don’t require painting with painter’s tape and plastic sheets. This includes edges, door frames or any other details you don’t want to paint being splattered on. When painting, it’s easy for paint to drip or splatter, so take the extra time to protect these areas.
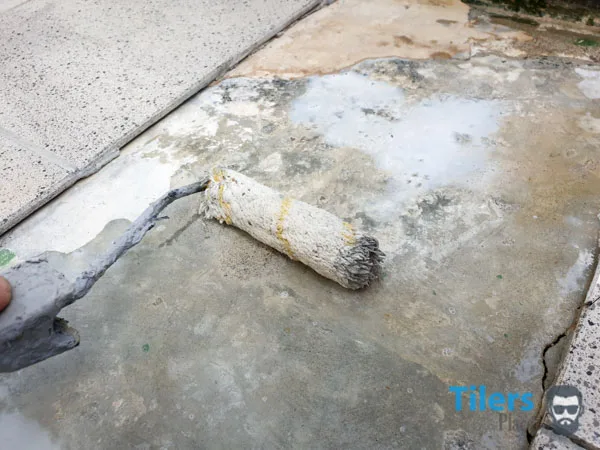
Step Seven – Priming your Tile
- Dip your paint roller into your bonding primer from a paint tray.
- Remove the excess and wait until the roller is near dry.
- Roll your primer gently onto your tile as a thick coat will most likely drip.
Remember, the goal is prime the surface so the paint adheres better. Let the primer dry and apply your second coat.
Step Eight – Tile Painting
Choose a tile-specific paint that’s suited for your intended use. Use a roller to apply your paint coat and touch up any edges and corners with a paint brush. Ensure your paint is evenly distributed to the surface and let dry.
Finally, inspect your work and make sure everything is up to standard. After all, you spent the time and effort to paint your tile like a professional.

Tips for Painting Tile
There are some nuisances to consider when painting your tile. Tiles usually are glazed to have a high sheen, and in turn, repel dust, dirt, oil and yes, even paint.
However, following these tips can ease the painting process:
Choose the right area for your tiles – Vertical surfaces like backsplashes or areas with minimal-moisture are ideal for painting.
Always clean your tiles – Tiles can accumulate years of dirt, oil and dust. No matter how old or clean they look, always make sure to thoroughly clean them before painting. As mentioned, paint will better stick to clean tile.
Scuff the surface – Glossy tiles are less likely to adhere to your paint. Sanding the surface will create a matte finish and make the paint stick better to your tile.
Always opt for tile paint – Don’t go for a generic exterior paint if you’re planning to paint your indoor tiles. Tile-specific paints are more adherent and will better withstand humidity. For long-lasting results, use a low viscosity epoxy paint or paint specific to tiles.
Choose the right tools – Don’t use a roller for corners or tight areas. Go for a paintbrush instead to ensure even coverage and no bleed through.
When to hire a Professional Painter
We’re not all born to be a master painter, or even a good one. If you’re not confident with your skills, let the pros step in. Here are a few additional reasons to consider hiring a professional painter:
Time – Painting tiles can be time consuming, and if you’re looking for quick results, a professional painter is your best bet.
Cost – A poorly performed paint job isn’t just ugly, it will cost you in the long run to redo. A professional painter will give your tiles the look they deserve the first time.
Quality – Professional painters are highly trained to deliver quality work. They will even have a work guarantee, ensuring you always get what you pay for.
If you’re looking for a long-lasting paint job, hiring a professional painter is typically the right choice. But if you have experience, you can save money by doing it yourself.

Leave a Comment
Your email address will not be published. Required fields are marked *
Comments are currently closed for new submissions.