Tilers Place is reader-supported. When you buy through links on this page, I may earn an affiliate commission on qualifying purchases.
Remove grout with a grout saw and discover removing grout is easier than you thought!
This ultimate guide combines knowledge from every grout removal guide from Tilersplace and combines it into one complete grout saw guide.
With professional Tile setter tips to a full list of tools required, this guide will teach you everything you need to know to remove old grout from tiles in the easiest way possible.

Hi there and welcome to my Ultimate Guide To Removing Grout with A Grout Saw.
I have been removing grout for tile and grout replacement for over 20 years as part of my profession as a tile setter.
In fact, I have removed more grout in 2026 than I have in ten years of tile setting. It appears homeowners are wisening up to the benefits of replacing grout and refreshing their tiles without spending a lot of money.
If you are looking to remove tile grout yourself, then this removing grout guide is for you!
I’ll show you how a pro tiler removes old grout and teach you everything I know so that your next grout removal project is a success!
Before We Begin
This guide is ideal for small grout removal projects like a single bathroom floor, shower or kitchen backsplash.
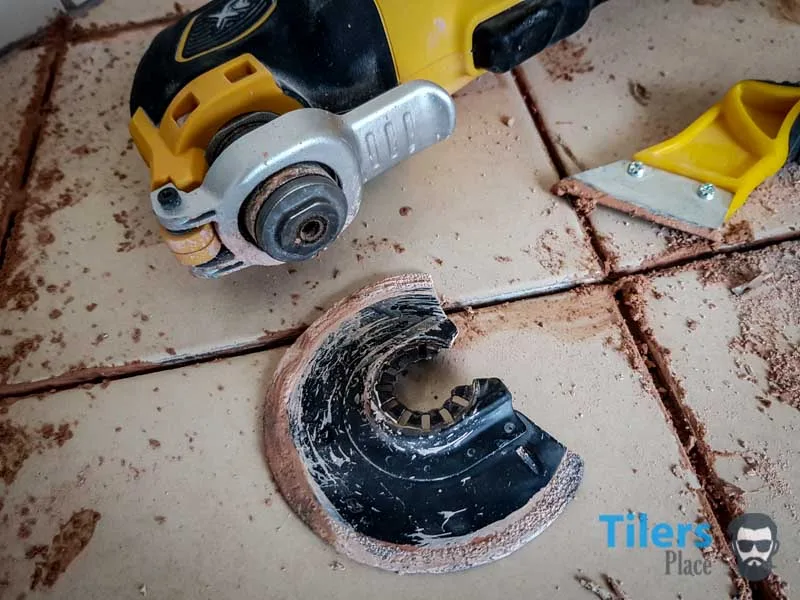
If you are looking for a grout removal tool for large projects or simply want to remove grout the quickest and easiest way possible: then my Guide To Removing Grout With An Oscillating Multi-Tool is for you.
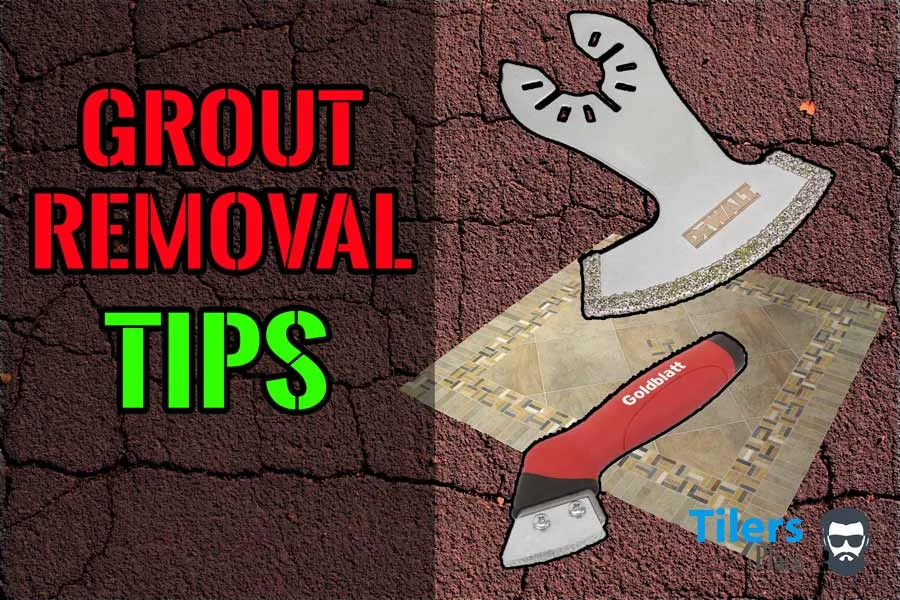
The Grout Saw – Quick Overview
The humble grout saw is the cheapest grout removal tool available and one of the most effective.
It has literally zero learning curve and anyone; be it an industrious teenager wanting to earn some money over summer or a retired grandmother wanting to spruce up her backsplash, can use one without issues.
It consists of a large handle to allow ease of use and a special carbide or diamond tipped blade that grinds grout to dust – that’s it.
The magic happens thanks to the carbide tip and the speed at which it removes grout is all dependant on the user.

To enable a grout saw to remove grout, all you need to do is saw at the grout like you would a wood saw.
I believe the absurdity of that sentence really highlighted how easy it is to use a grout saw.
Simply pick it up by the handle, press the carbide, grouting removing tip to your grout and saw at it with an up and down motion.
The grout saw is truly a cheap and effective method of removing grout and the reason the tool has been around for decades.
It features on my Best Grout Removal Tools Guide as one of the 3 best grout removing tools and for very good reason.
A Grout Saw Is Perfect For:
• Repairing Grout In Showers
• Fixing Grout Cracks
• Replacing broken or chipped tiles
- Removing just about any type of grout in any situation.
This grout removal tool is perfect for all these things as it’s cheap, great for small to medium jobs and is easy to use.
Keep reading to learn more in-depth grout removal techniques with a grout saw and how to prep your job-site before starting work.
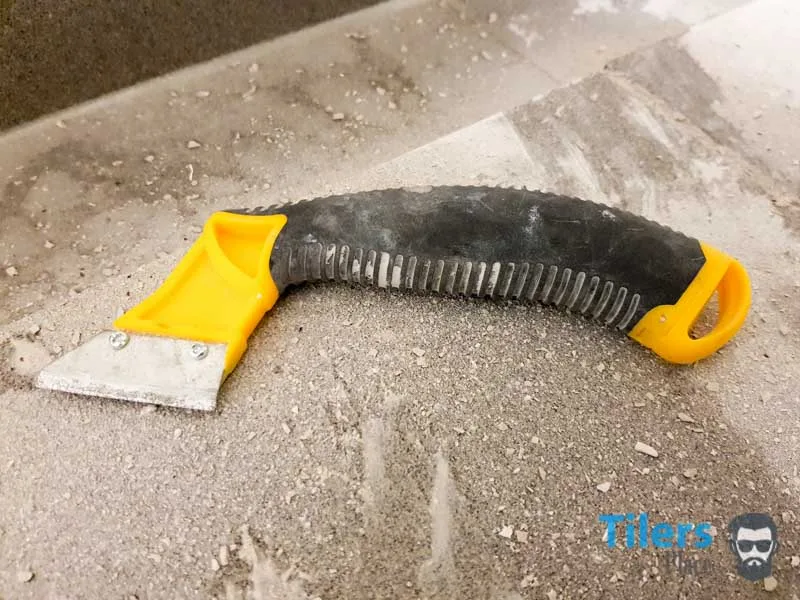
The Best Grout Saws
Here are two of my favorite grout saws to use.
I have found that this handle design works the best as you can be more forceful with your strokes without sliding out of the grout gap.
Grout Saws with the raised handle like this one are an older design and tend to make work slower and more tedious.

QEP Professional Grout Saw
This grout saw produced by QEP is my go-to grout saw and the one I use in this guide.
The design is slightly different but it’s the same one.
I love the large handle that enables two handed use and it translates elbow-grease better than other designs.
You can also replace the carbide blades once they go dull.
Check Price – Professional Grout Saw Blades
Goldblatt Grout Saw
This grout saw is slightly fancier and more comfortable in comparison to the QEP.
It features a more comfortable handle and thicker design, suited for longer use.
There are also cheap replacement blades available.
Check Price – Goldblatt G02738 Pro Tile Grout
Reasons To Remove Grout
Before we start the guide, let’s take a quick look into why you’d want to remove your tile grout and what advantages you gain from removing old grout.
-
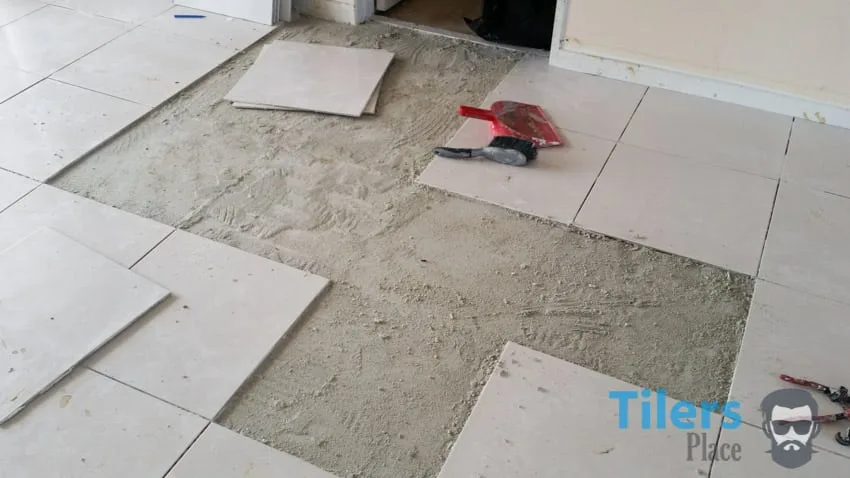
Remove grout in order to safely extract a tile – If you are wanting to replace a damaged or chipped tile, you will first need to remove the grout around it. This is to break the bond between the neighboring tiles and prevent them from getting damaged during the removal of your broken tile.
-
Update your grout to a modern and easier to clean grout – Chances are that you will have an older and outdated form of tile grout that is worn out and faded, and is also hard to keep clean as it’s so porous and attracted to dirt. By simply extracting that old grout from your tiles, you can regrout with a modern and more durable grout that will make cleaning and everyday living much easier.
-
Dramatically changing the look of a room without spending a lot – Many first homeowners or house flippers love to replace the grout in older tiled surfaces. It’s a cheap and effective way or refreshing an old surface while saving money. A full grout removal kit and a few hours of your time are much cheaper than removing and retiling a floor or wall.
-
Changing the grout color – Similar to the last tip. You might find you do not like your grout color, either because someone else chose it or your home decor changed. By removing that grout, you can regrout your tiles with whichever color suits your new designs and taste.
-
Fixing cracked or damaged grout – A common reason for removing grout is because it’s either damaged, flaking, cracked or heavily contaminated with dirt. This is especially the case in shower floors where the grout is heavily damaged and washed out due to the constant exposure to water. Removing the old tile grout and applying a fresh batch of modern is the best way to remedy these problems.
-
Removing odor near pet areas – You love your pet and they love you. Unfortunately, they do leave signs of that love indoors that can start to smell over time.
No matter how hard you scrub or steam clean, urine can penetrate deep into your grout and be impossible to remove.
This is because standard grout is porous and liquids can penetrate deep into it and sit underneath the tile.
The best way to remove pet odor from grout is by removing it completely and replacing it with a new grout or even epoxy grout.
Epoxy is fully water resistant and won’t allow any messes to penetrate it.
This last tip also applies for other smells and odors, especially in wet areas like showers or around toilet areas. Smelly liquids can penetrate grout and sit beneath it, leaving an unpleasant smell that you can’t get to. Replacing it is your best option.
Now that we have the reasons behind wanting to remove tile grout, let’s look at the list of gear you need to remove grout effectively.
It’s time to assemble your grout removal kit.
Gear List – Tools Needed
Check Price – Vacmaster VJH1211PF 0201 Professional
Check Price – 125M Resistant Dexterity Stretchable

Check Price – RUBI TOOLS Duplex Knee Pads

Check Price – 3M 8511PB1 Particulate Respirator 10
Check Price – Goldblatt G02738 Pro Tile Grout
Guide To Removing Grout
We have our gear and specialist grout removal tools, so let’s get going!
It’s time to remove grout like a professional!
Step 1 – Preparation
We start work on our grout removal project by preparing the job site.
Correct preparation is the key to every successful renovation project and removing grout is no different.
1.1 You can begin by removing any loose clutter and objects from the area you will be working in. This is to provide a clean and distraction-free environment.
If you’ll be working in the kitchen, for example, remove any:
• Loose cutlery and dishes
• Pot plants or decorations
• Food Containers
• Small electric appliances
If there’s a lot of dirt or grease on your tiles, give them a wipe down with your favorite cleaning product.
1.2 If possible, open up any windows in the room you will be removing grout in so that you have ventilation and fresh air coming in.
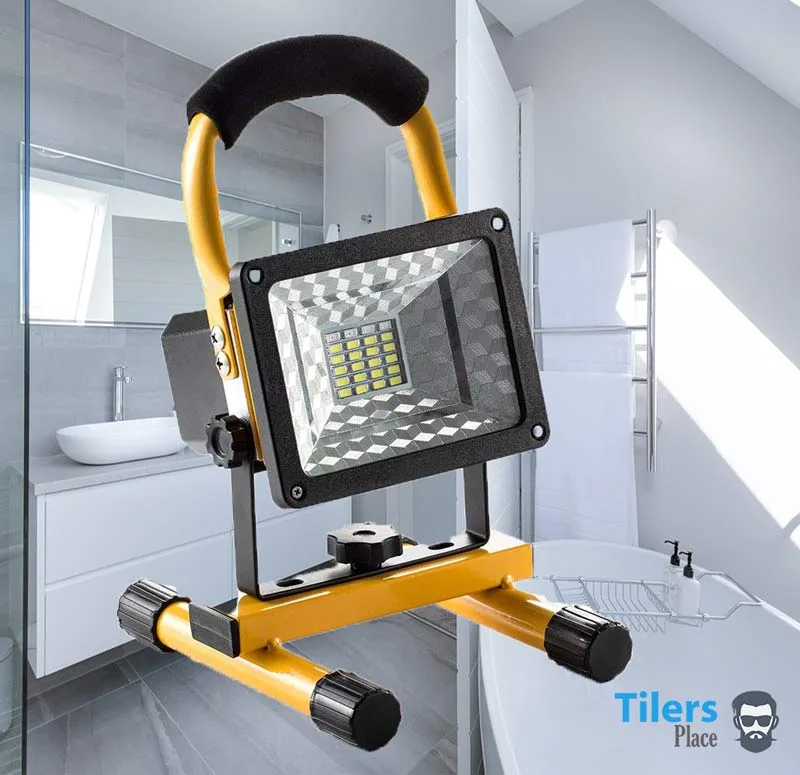
1.3 Turn on the lights and if it’s a dark room or there’s not enough light falling on the ground, a portable work lamp would be ideal to further illuminate the work area.
You want a lot of light when removing grout with a grout saw, this is to help you see the grout gaps properly and ensure you remove all the grout.
A cheap portable work lamp like this is ideal for the task, they feature a long-life lithium-ion battery that’s rechargeable and the COB LED’s provide plenty of light.
You can set it anywhere you need it and it’s small enough to not be a bother to you.
These lights have saved me a lot of hassle over the years and I always carry two in my truck.
1.4 A grout saw is a fairly quiet and unobtrusive tool so you won’t need to clear out any pets or curious children but it does produce a squeak on some grouts. Keep this in mind if you have anyone in the home that is affected by the sound.
1.5 With all the distractions safely taken care of and your workspace ready, you can start putting on your safety gear.
Put on which Protection Gear You Require:
• Knee pads
• Dust mask
• Work gloves
Oh, and crack up some music!
You want some good music to keep you pumped and motivated while you do this task that some would describe as tedious and slow.
So turn on that radio or portable speaker, turn up the volume and put on your favorite beats.
It’s time to remove some grout!
💪
Extra Tips
Here are a few extra tips for preparation that could help in your circumstances.
Step 2 – Removing The Grout
We have our tools for removing grout and we have a safe environment to work in, now let’s get busy removing some grout!
Ready?
1.1 If it is your first time using a grout saw to remove grout, start in an area that is less conspicuous – behind a door or in a far corner are two good spots for this.
This applies to both wall tiles and floor tiles.
1.2 Get a comfortable grip on the grout saw and place it flat on the grout line you will start with.
You want the whole entire blade to be touching the grout line.
Start pushing the grout saw up and then down in a sawing motion, very much like you would cut a piece of wood.
The idea with a fresh grout line is to work a small groove into the grout line, this will provide you with a track to follow and allow you to go deeper into the grout without damaging the tile glaze.
Work a few inches at a time to keep it manageable and allow you to get head way.
The objective is to take it slowly and work systematically.
1.3 With a nice guiding groove created, you can start sawing at the grout. Once you have most of the grout removed from the grout removed, angle the grout saw to the side and remove the grout from the edges of the tile.
*View The Grout Saw Animated Image For An Example*
The angle of the grout saw will remove the remainder of the grout in the tile gap and ensures that when you apply new grout, old specks of grout won’t show through.
Go steady and remember to be gentle, you do not want to damage the tile glaze!
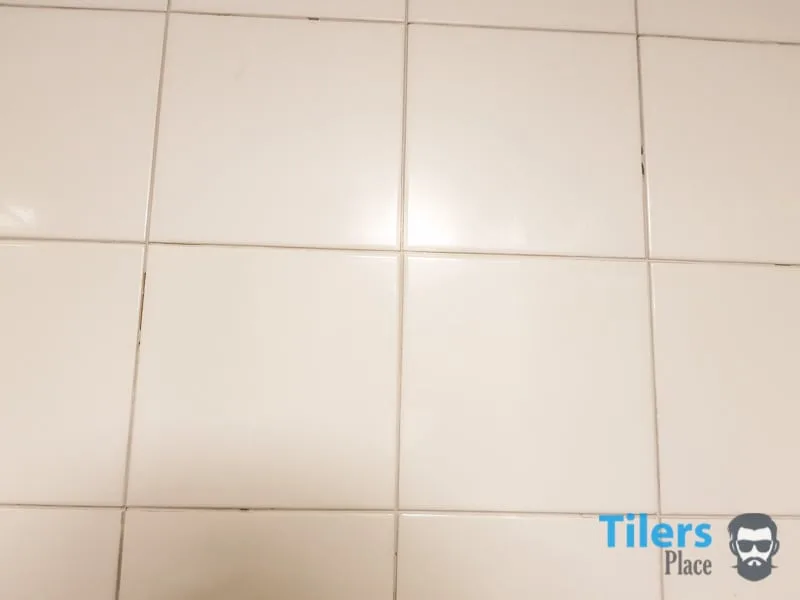
1.5 With enough grout removed, you’ll see a large dark gap appear in the grout line, you can now proceed to the next section of grout and repeat steps: 1.3 – 1.4 until all the grout is removed.
You do not want to go any deeper than the grout line as your grout saw will start scratching the glaze of the tile with its metal hardware. This can cause a black mark to appear on the tile.
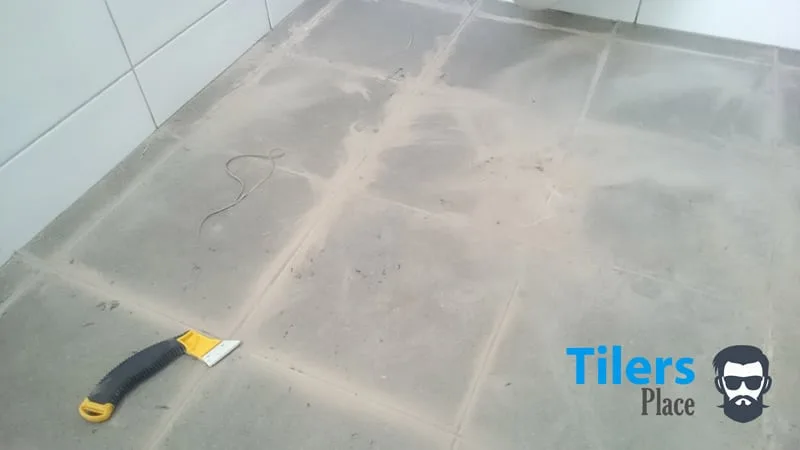
Have I Removed Enough Grout?
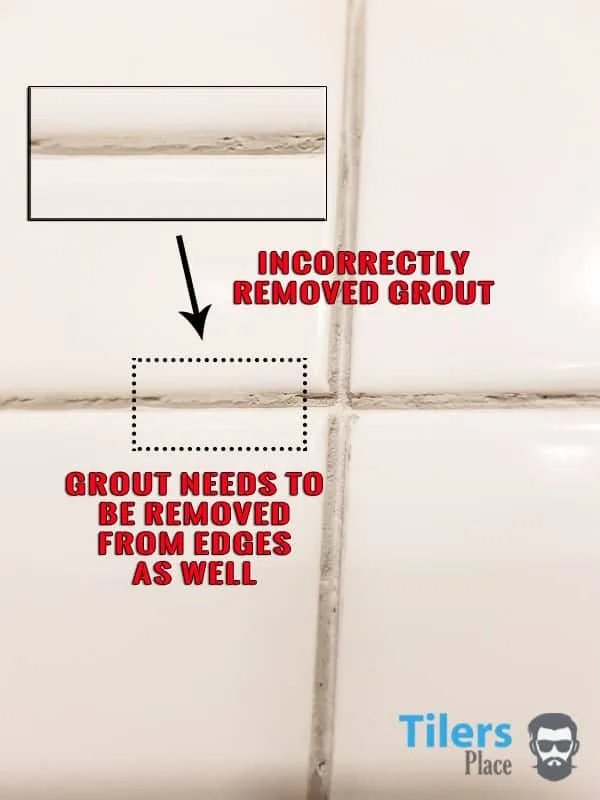
Take a look at the next image to see an example of a grout line that has been poorly removed.
The middle of the grout line has been removed but a large chunk has been left on the edges of the tile glaze.
This left-over grout will be impossible to cover with new grout and will show up like a sore thumb as it will be a different color and texture to your new grout.
The grout lines next to the offending grout have been removed correctly.
To remove the grout on the sides of the tile, simply angle your grout saw and continue scraping out the grout.
1.7 As you make process on your grout removal project, you’ll want to stop or have someone vacuum up the dust and debris you have left behind.
This helps in two ways:
-
It will reveal any grout you may have left in the grout line.
-
Prevent you kneeling on the debris and getting it into your clothes and skin.
Keeping your work area tidy and orderly always helps in achieving a great result and provides a safer work environment.
1.8 As you get more confident with the grout saw and your skill increases, you can start sawing at the grout quicker, you will also develop a feel for the grout removal process and make more progress.
Remember to always maintain a firm grip on the grout saw and take breaks every 15-30 minutes to allow your hands to rest and prevent fatigue to your eyesight and body.
Is The Grout Saw To Slow? You might need an oscillating multi-tool, check out my grout removal guide for this powered grout removal tool. It’s much quicker than a grout saw and less taxing.
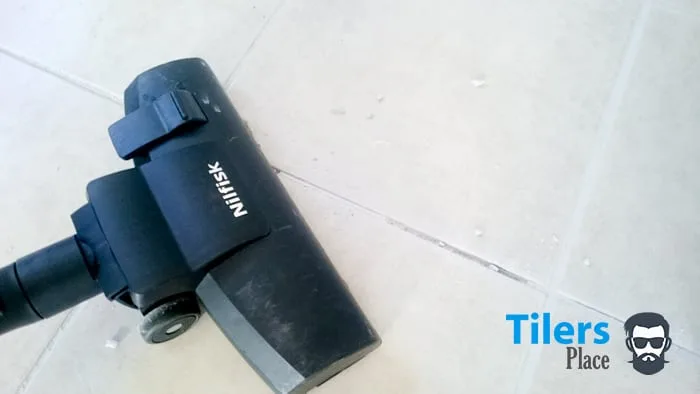
2.0 Once you have removed all the grout, get the vacuum cleaner out and suck up all the dirt and debris you have created.
Pay particular attention to the grout lines as a lot of grout dust will be remaining in the gaps and you’ll want to get it all out before applying new grout or extracting the tile.
2.1 With that you are done!
Congratulations, pat yourself on the back and heave a sigh of relief. It may have been time-consuming but trust me, what you just did was the cheapest and easiest way to remove grout from any tiled surface.
Take a moment to clean up your tools and equipment before putting them away.
You can wipe down your grout saw with a microfibre cloth to prevent dust caking on it.
If you are going to continue on and grout your floor, I have a full guide on how to grout tiles here.
Conclusion & Project Wrap-Up
Grout removal from porcelain or ceramic tiles can seem like a scary and tedious project.
It’s a specialist field that most every-day homeowners and DIYers do not have experience with and unfortunately, this can lead to mistakes and expensive damage caused to tiles and furnishings.
Of course, there are many guides to grout removal on the internet but I found them to be sorely lacking in detail or proper value.
A guide on removing grout cannot be summarized to a few vague bullet points and pretty photos and so I created this guide to fill in the blanks that those guides created.
This guide to removing grout with a grout saw aims to teach a complete beginner how to use the best removing grout tool in the business and enable them to remove grout like a professional tile setter.
With the right equipment and surface preparation, we were able to remove grout from any tile surface in a clean and effective manner without putting our property or health at risk.
Once all the grout has been removed, the tiled surface is ready for it’s next stage, whether that is tile replacement or complete regrouting of the tile.
I hope this guide has been of use to you and that it taught you how to remove grout properly and to your satisfaction.
If you found it useful, please share it amongst your social networks!
Further Reading
Click on the links if you would like to learn more about:
Help keep this guide free for everyone!
Tilersplace.com is entirely Ad-Free and has no membership areas.
If you would like to support the website and help it remain online for everyone, a quick share on social networks will go a long way.
Thank You!
![]()
2 Comments
Susan – October 2, 2018
Just what I needed, thank you for this guide!
Michelle – April 17, 2020
Great guide! I found this while seeing how long my grout saw blade will last, I’m redoing my bathroom floor, consisting entirely of tiny 2x2 squares. This’ll take a while but as I only have one bathroom, it’s easier than trying to demo and retile in one day.

Leave a Comment
Your email address will not be published. Required fields are marked *
Comments are currently closed for new submissions.