Tilers Place is reader-supported. When you buy through links on this site, I may earn an affiliate commission on qualifying purchases.
Looking for the best grout removal tips around?
Look no further!
This is the ultimate list of grout removal tips and hints by a professional in the industry.
What is the best grout removal tips List?
Grout removal is one of the most avoided and equally hated DIY task a homeowner can undertake in their homeowning lives.
This stigma isn’t helped by the pluthora of ineffective guides, tips and misinformation spread around the internet and dominating the front page of search engines.
As a professional working with grout and removing grout as a regular part of the job, I want to battle the wrong information and provide you with grout removal tips that WORK!
Not only that but I want to share as much of my tiling and grouting knowledge as written word allows so you can avoid the common mistakes people make while removing grout and using grout removal tools.
With tips on how to use tools for removing grout efficiently, how to use them safely and avoiding any personal or property harm, this list of the best grout removal tips is written with help being at the forefront.
With the internet overun with “home repair experts” and “expert DIYers”, it’s time the professionals have their say.

Hello there fellow home-owner and welcome to my list of the best grout removal tips.
For the past 20 years, I have been tiling professionally and I have removed my fair share of grout in that time.
With every grout removal job, I learned new things and way to make the task safer, quicker and get me a better result.
This guide is aimed to share my knowledge with you in hopes of making your next grout removal task a breeze.
I want to start the grout removal tips by listing the best grout removal tools.
This will provide in-depth tips on each tool for removing grout and should help you decide on which one to use for your application.
The Best Grout Removal Tools
The best tools for removing grout are listed in order, number 1 being the quickest and best grout removal tool overall with the worst not being mentioned at all.
I listed the tools I use on the job in case you would like some pointers which grout removal tools work great.
Keep in mind all my tips will work for whichever brand you choose/have at home.
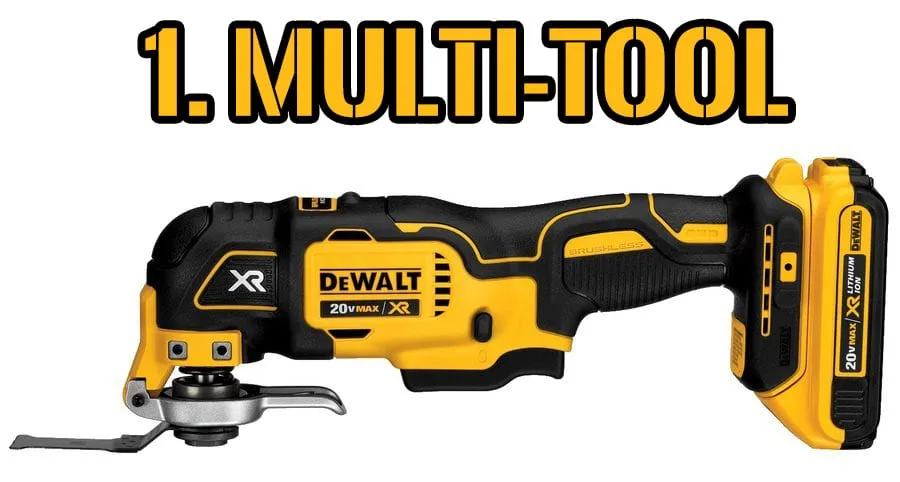
1. Dewalt 20v XR Multi-Tool with a DeWalt Grout Removal Blade.
(or any multi-tool with grout removal blade)
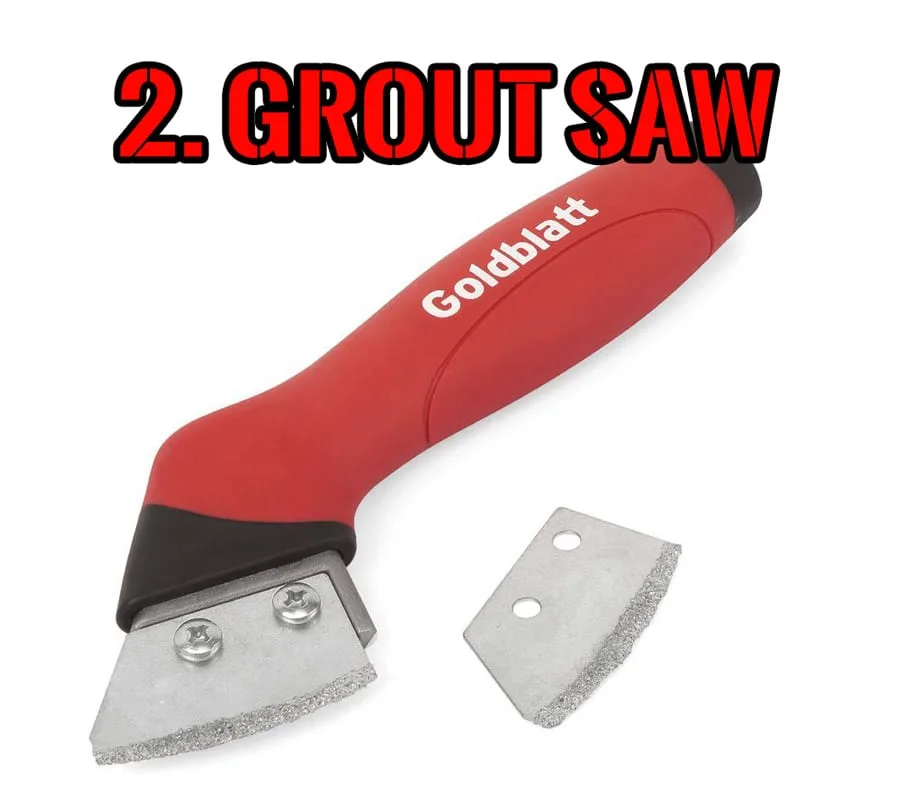
2. Goldblatt Pro Tile Grout Saw
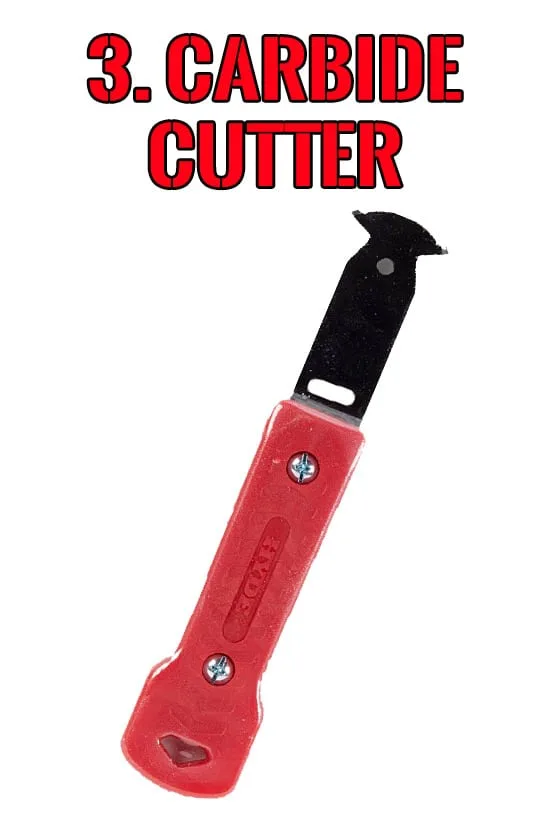
3. Hyde Tools Heavy-Duty Carbide Cutter
Tips for Using a Multi-Tool With a Grout Removal Blade
These tips will also apply for any multi-tool with a grout removal blade attached!
Since the basis of a grout removing multi-tool is the same, you can apply these tips to whichever brand of multi-tool you have.
The following will be a general mix of grout removal tips using an oscillating multi-tool fitted with a blade for grout removal.
Read all my tips or just skim through at your leisure.
Tip Section 1: Personal Safety
I have mentioned previously in other articles that an oscillating multi-tool used for grout removal is very safe, however, some safety measures are required.
1 – Use basic safety equipment! Every power tool comes with health risks and after using this grout removal tool I have come up with a recommended list of equipment to use.
-
Safety Glasses – Just a plain set of safety glasses will help protect your eyes from any dust and debris flying around while in use. This is especially a concern when you’re crouched down in low/awkward areas and you face is close to the multi-tool.
-
Knee Pads – This is a must! You will be crouching for long periods of time on cold and hard tiles. This is a sure recipe for aching and damaged knees. Knee pads will keep you comfortable for hours and make sure you won’t damage your knees when removing grout.
-
Dust Mask – If you are working in small areas without proper ventilation (bathrooms, toilets especially) you will want a dust mask on.
While the oscillating multi-tool will not throw up a lot of dust like an angle grinder, you will still be breathing in microparticles of grout.
Over time you will begin to taste it in your mouth and it might find it’s way into your lungs.
Slap a mask on and you’ll avoid making a dust storm in your lungs.
- Work Gloves – I learned about this necessity the hard way. **(HIGHLY RECOMMENDED!)**
I was working with an oscillating multi-tool for a couple hours and when I stopped my hands felt like they were made of springs. They were vibrating, felt fuzzy and generally painful. The worst part was this problem persisted for a few days after!
So I highly urge you to wear a thick pair of gloves when removing grout from, tile. They will help muffle the vibrations and prevent any damage transferring into your hands.
After wearing work gloves I no longer get spring hands from a long session of removing grout.
- Hearing Protection – Whether you use ear plugs or ear muffs, either will do the job nicely.
An oscillating multi-tool, especially when used on the fastest setting, creates a terrible whine that will make using it for long periods of time a painful task.
While the whine isn’t overly loud it’s the exposure to the same aural frequency for extended periods that can damage your hearing.
Be safe and cover your ears to prevent any problems with your hearing.
It might be a good time to buy some of those FM Radio Ear Muffs you wanted for so long. Since you’ll be working for a while, why not make the work pleasant with some music?


TIP SECTION 2: Removing Grout With an Oscillating Multi-Tool
1 – Get two grout removal blades – You’ll want to have two different grout removal blades so you can get the most out of your grout removing multi-tool.
One blade can be the general semi-round grout removal blade that will do the bulk of the work. It has a large surface area and will rip through grout without issues.
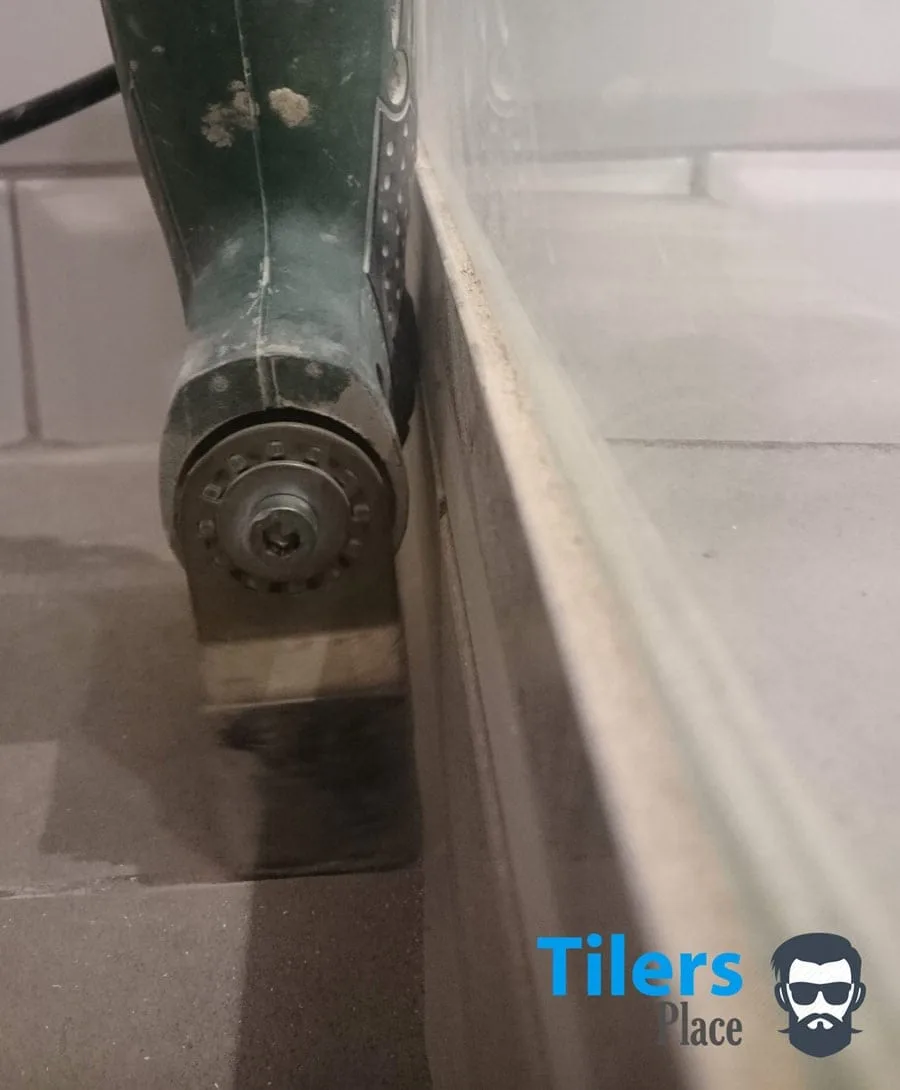
The second blade you want to get is a narrow grout removal blade.
This one can be set either straight or at a 90-degree angle on the oscillating multi-tool and will allow you to access grout lines in tight spaces.
This is especially helpful removing grout flush with a wall.
You can slide your grout remover right up against a surface and the blade will remove all the grout you couldn’t reach with your round grout removal blade.
If you’re worried you’ll scratch the vertical surface you can apply some masking tape on the wall to prevent any marking or scratches.
Here are some links to my favorite grout removal blades.
Click the images to find the best prices at Amazon.
These are ideal for the task and offer universal fitment for most oscillating multi-tools.
With these blades attached, you’ll become a grout removing pro!


• Not sure how deep to go with the grout removal blade?
A great rule of thumb when using an oscillating multi-tool with a grout removal blade is to go only as deep as the carbide grit line.
Simply keep removing the grout in your tiles until the carbide grit section of your grout removal blade is hidden inside the grout gap.
This depth is an easy way to know how much grout you need to remove and it will ensure you will not damage the delicate substrate underneath like a waterproofing membrane or underfloor heating.
2 – General Tips on Removing Grout
• Set your multi-tool to a slow setting and only go faster when you’re confident with the power tool.
Most oscillating multi-tools should have a way of adjusting the speed, whether it’s via the trigger like the Dewalt or a dial like others have, just go slow until you understand how it the machine works and bites.
This is especially useful since some tiles are very delicate and scratch easy. If your blade runs over the tile you might find the blade has scratched the surface.
With a slow setting on you’ll be able to control the multi-tool and won’t have it slipping out of the crack.
- Begin in the centre of a grout line and work in small sections at a time. Once you have a centerline scratched out, you can angle the tool and allow it to bite the grout on the edges.
• Rotate the grout removal blade. If you are removing a lot of grout from your tiles, it’s good to remember to rotate the grout removal blade so that you use all the grit on the blade equally. This will extend the life of your blade and ensure you remove as much grout as possible with a single blade.
• Adjusting speed is better than adding pressure. Your oscillating multi-tool will work better and healthier if you adjust the power tools speed instead of adding more pressure on the blade while removing grout.
If you are feeling more confident and want to remove grout faster, just turn up the power on the tool. Pushing on the oscillating multi-tool will only burn up the blade faster and put undue stress on your power tool.
• Hard grout may require more passes with the grout removal blade. Hard grouts like epoxy or sanded grouts might require you to go over them a few times with the grout remover instead of one pass. It is better to remove a little at a time during each pass rather than forcing the tool to work at one area at a time.
Following these last two tips will greatly increase the life of your grout removal blade and will ensure your oscillating multi-tool operates safely.
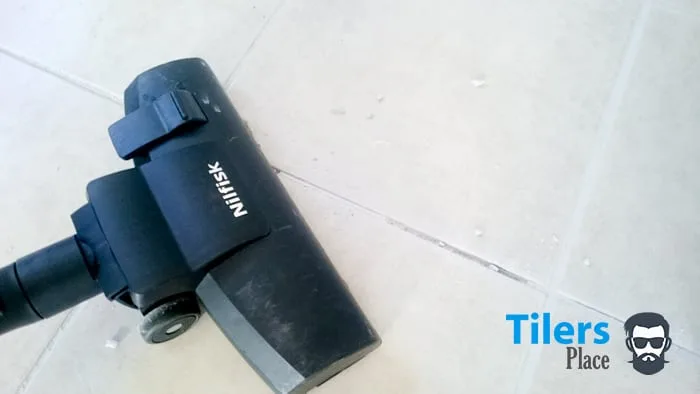
- Have a vacuum cleaner near-by and handy! Better yet, if you have a spouse or family member, get them to occasionally vacuum out all the grout dust you have created.
This will enable you to see which grout lines need further work and stops you from crawling around on the fine dust that will cling to your clothes like flour.
It’s a quick and easy thing to do but commonly overlooked for first-time grout removers. Just add a vacuum cleaner to your workflow and you’ll have a safe and clean work area.
Continue Reading About The Oscillating Multi-Tool
I have written a full and in-depth guide on how to remove grout with an oscillating multi-tool.
This tutorial includes:
• Full Gear List
• Site Preparation
• Detailed Guide on grout removal with an oscillating multi-tool
Tips For Removing Grout Using A Grout Saw
While much safer to use and less complicated than an oscillating multi-purpouse tool you will still want to follow basic safety precautions while using a grout saw.
- Use knee pads and some work gloves to ensure no tension transfers into your body.
Since a grout saw is a very slow and methodical tool, you’ll be kneeling for long periods of time. Knee pads are a must!
- A grout saw works as hard as you do.
The harder and faster you push will directly influence how fast you remove grout. Unfortunately, you cannot work half-heartedly as the grout saw will simply not bite the grout and you’ll get nowhere.
Apply even and strong pressure with every stroke to penetrate the outer crust of the grout. Once you’ve bitten in you can ease up a little.
- Start from the centre of the grout line and etch a line about half as deep as the thickness of the tile.
Once you have enough grout removed, you can angle the grout saw and remove the outer edges for a completely clean grout line.
Continue Reading About The Grout Saw
I have written a full and in-depth guide on how to remove grout with a grout saw.
This tutorial includes:
• Full Gear List
• Site Preparation
• Detailed Guide on grout removal with a grout saw
Tips For Removing Grout Using A Carbide Cutter
Since a carbide cutter is a hand grout removal tool just like a grout saw the safety precautions are the same.
-
Use knee pads and some work gloves to keep those body parts safe from any tension or scratches from the carbide blades.
-
A carbide cutter works best on unsanded grout.
A carbide cutter works wonders on unsanded grout as it rips through it in a single stroke. Instead of grinding the grout into dust, it rips it out in chunks.
When using it on harder grouts like the sanded or epoxy variety, the carbide cutter is rendered into a grout saw and has to scrape its way through the grout just like a saw.
While it does limit the tool somewhat, the way it blitz’s through softer grout makes it a well worthy addition to any grout removal tool arsenal.
- Start from the top of a tile and rip in long sections at a time.
I like to rip in long sections at a time as this allows me to maintain momentum and get as much grout out in the least amount of effort.
I then go over the line again trying to get the remainder out. With a couple strokes, I have a totally clean grout line and can continue on to the next one.

Those are my tips for removing grout so far, I hope you found one of two of them helpful in your grout removal adventures.
I will keep updating and revising this guide as I continue to work with these tools and discover new methods.
With time this will be an ultimate resource for anyone needing help with grout removal.
Want to read more about grout removal?
Check out my extensive article on the best removing grout tools.
It’s loaded with tips and information that should build upon the knowledge you have learned here.
Found this guide useful? Want to show your support?
Consider giving it a share on your social networks! All the social buttons are below this article so get busy sharing!
Tilersplace is dedicated to being the number 1 resource for anyone needing help with anything tile related! Your support ensures we continue to grow and continue our mission to help more and more people.
4 Comments
Tanya – January 22, 2018
Can I give you a hug! Gosh your website is a lifesaver. I was so worried I would make a mess of my grout removal job but after reading all your guides I feel so confident! Love the easy to read tips and links to the best products. I put my order and I can’t wait to begin! Thank you Carl.
Suzie – February 20, 2018
You put huge websites to shame with this guide! I read over a dozen different guides and their whole guide was shorter than your first paragraph! XD XD you are a king mr.carl, thanks so much for the help.
Daniel Chancey – March 21, 2018
Those dewalt grout removal blades you suggested seriously work dude, I was using some crappy unbranded POS’s before and they burned out so fast! Love my dewalt blades, thumbs up for the tip!
Eric – September 19, 2018
Hey there I appreciate the tips. I’m in the trade as well and always looking for tips I haven’t figured out yet. Not sure when this was posted but I came across a extremely good tool that works amazing. I dont know if its sold exclusively at lowes but home depot didn’t carry them. It is a blade for a reciprocating saw. The name of the company is SPYDER and it is a 90 degree diamond blade. If I was able to post a picture I would. Any google image search should bring it up.
Just wanted to share my experience. I have literally used every tool possible and won’t use anything but this from here on out.
Thanks again!
Carl Anders – September 19, 2018
Hi Eric!
Thanks for the constructive comment and idea.
I think I know the blade you are talking about, it’s commonly called a “grout grabber” by other manufacturers. I managed to find the Spyder blade here. It’s definitely a cheaper option for electric grout removal! Quite a bargain in comparison to oscillating multi-tool blades.
I’ve had mixed experiences with them, yes they work really well and quickly but they can be a handful to handle at times. Especially in the tight spaces like showers or working with small grout gaps. Plus the reciprocating saw is much heftier and taxing to use over long periods of time. For floor work however, I’d definitely choose the spyder as it is awesome.
This guide is mainly aimed for first-timers and handy diyers so I’m pointing them towards easier methods but you are totally right and I value your idea. It’s a great option for professionals and people that can handle the powerful reciprocating saw.
Many thanks for dropping by and contributing to this article, I might update it to include the Spyder blade as well 🙂


Leave a Comment
Your email address will not be published. Required fields are marked *
Comments are currently closed for new submissions.